Demo Setup
You can either start building your site from scratch, or import our demo site and then modify it to fit your needs. We will now explain how to do that.
Now installing demo version is easy as never before, you can install any demo with just one click.
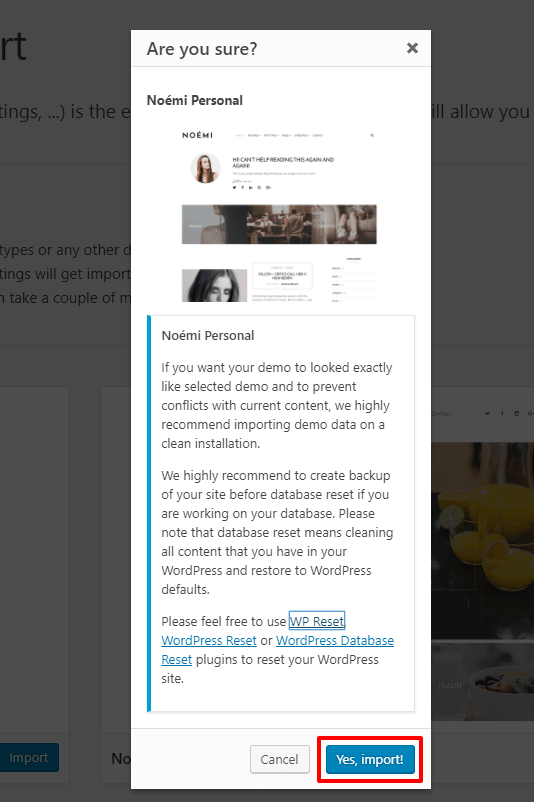
Before installing demo please consider following: If you want your demo to looked exactly like selected demo and to prevent conflicts with current content, we highly recommend importing demo data on a clean installation.
We highly recommend to create backup of your site before database reset. Please note that database reset means cleaning all content that you have in your WordPress and restore to WordPress defaults. You can use WordPress Database Reset plugin or WP-Reset plugin to reset your WordPress site and start clean installation.
Here is how one click demo works – It took XML file with content, JSON file for Redux options and WIE file for widgets and set all them together with one session.
Once you installed the theme and activated required and recommended plugins, go to WP admin ▸ Appearance ▸ Import Demo Data and click on it. You will see below page where you will be able to choose any of predefined demos.
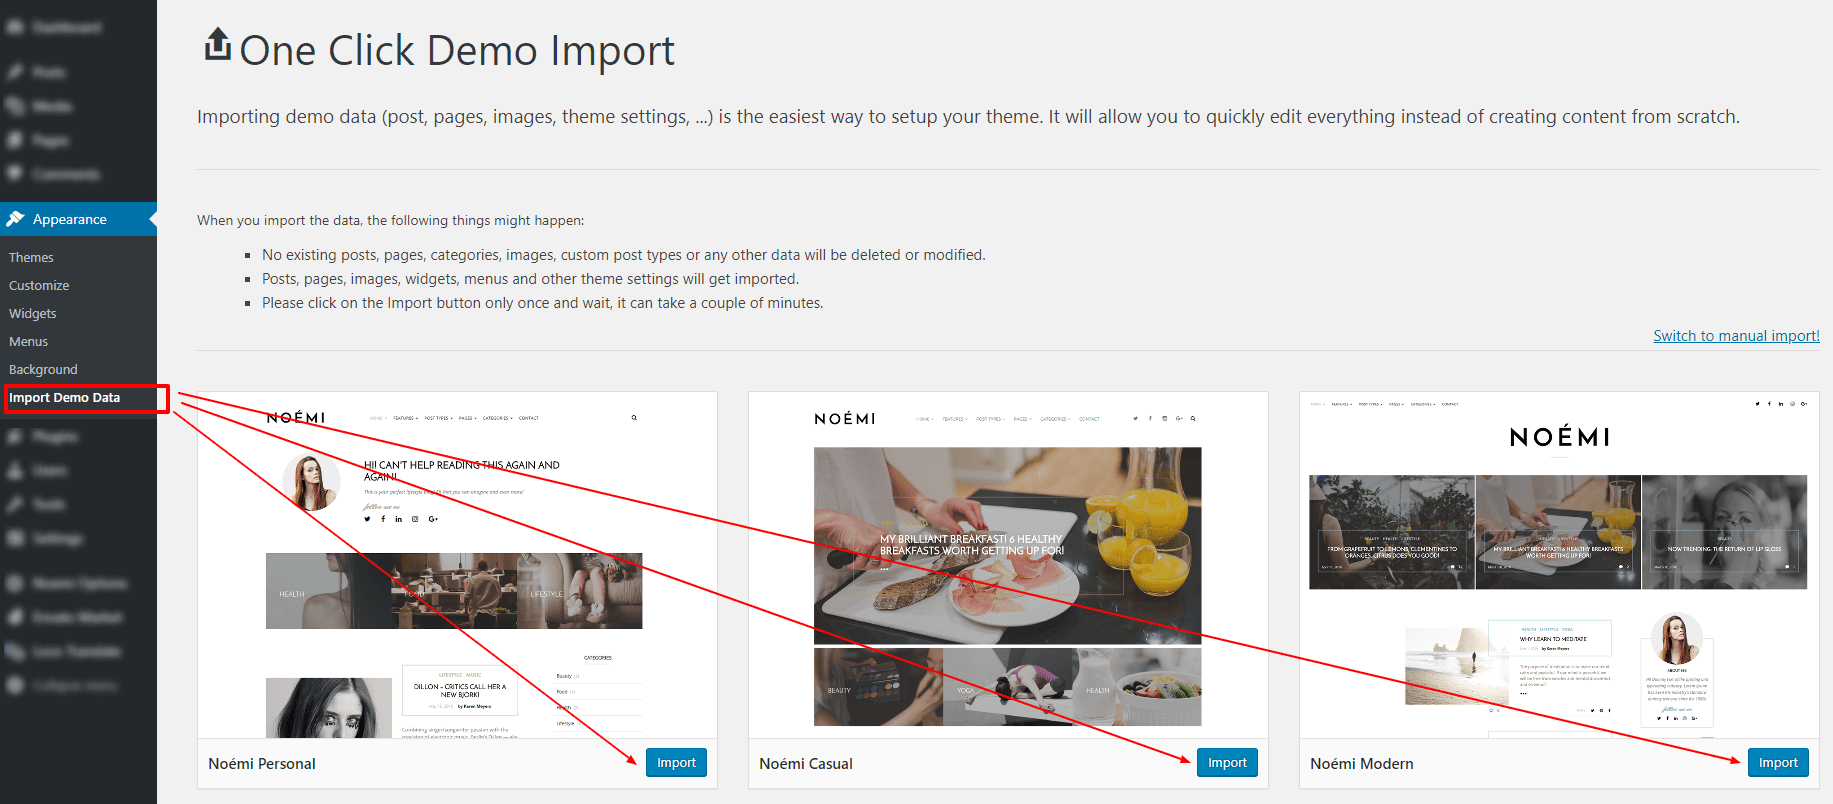
Select the Demo which you decided to import and then click on “Import” button.
In opened popup approve your choice.
Note: media files, posts and pages in demo content are different then in initial demo versions. We decreased posts and media files to make the demo load faster.
Manually data import
You can also import the demo data manually. Here’s what you need to do:
- Login to WordPress admin
- Go into WP-admin ▸ Tools ▸ Import
- If you haven’t already, you will be prompted to install the WordPress Importer free WordPress plugin. Just install it like you would any other plugin, and after you activate it return to this screen.
- Then click the Browse button to select the xml sample data file you would like to upload, and click Upload file and import. Next Your should see the following screen.The importer will give you the option to either import our demo users, or to assign the posts to an existing user on your WordPress site. For each option we recommend that you assign the posts to an existing user (ideally your user account, since you are the one working on the website). You’ll also see an option to import file attachments. Check this box only if you want to import all of the image and media files included in our RS-Card demo. Click submit to import the sample data. Once complete you should see a successful import message.

- There are certain things a WP import can not do, so after uploading sample data:

-
- Go to Appearance ▸ Menu to set your menu locations.
- Go to Appearance ▸ Widgets to add your widgets (widgets aren’t included in a WordPress export)
- Set your homepage at Settings ▸ Reading using the Homepage as a static page.
- Go to the Customizer setup your main options!