Menus
To start creating your menu, go to Appearance ▸ Menus from the admin panel.
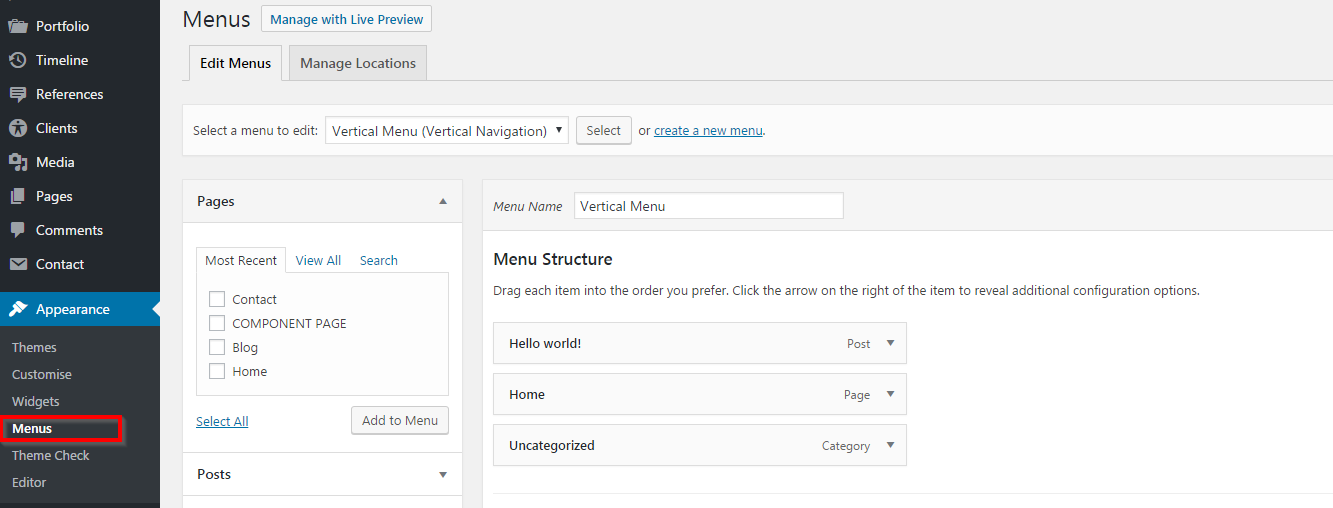
At the upper left corner you’ll see 2 tabs: Edit Menus and Manage Locations.
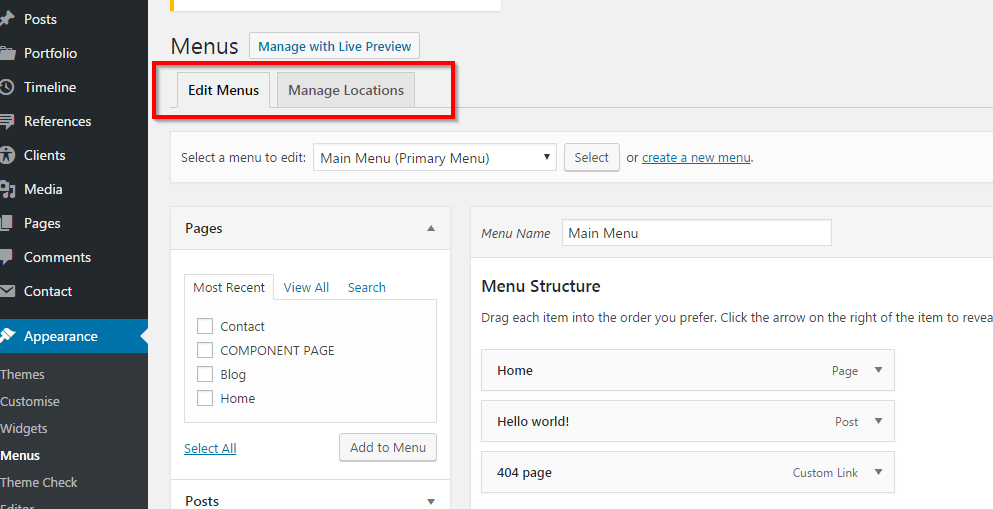
In Manage Locations, you can assign menus to locations.
Note: you must assign your menu to a location in order for it to be visible.
Now let’s go to Edit Menus. At the bottom of the page, in the section Menu Settings, you’re also able to assign the current menu to a location.

In sample data we’ve already created menus with the same name of locations for where they must be assigned. When creating a menu, you can click on the little triangle on each menu item in order to open up a list of editable settings.
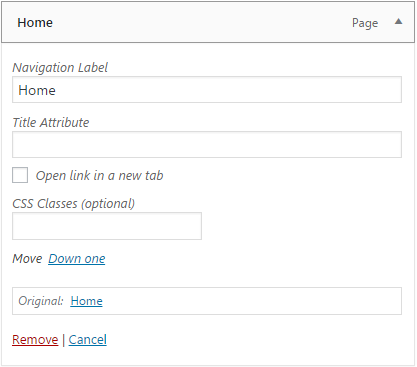
Let’s go over them:
- Navigation Label (default)
- Here you can enter a navigation label for this menu item. By default, the label is the same as the page title.
- Title Attribute (default)
- The title attribute will pop up once viewers hover over the navigation label.
- Open link in a new window/tab (default)
- Enable this option if you want the link to open in a new window or tab.