Customizer Settings
Table of Contents:
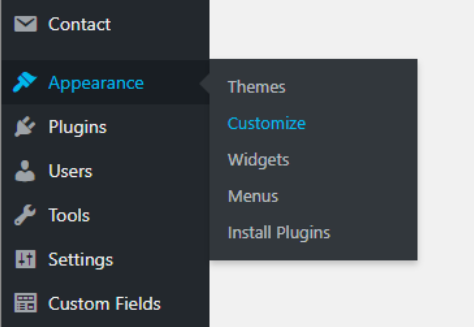
How to Access the Theme Customizer #
Customizer allows you to easily make changes to your website design in real time.
You can access it by logging into your WordPress admin area, and then going to Appearance » Customize from the left sidebar of your WordPress admin panel. This will open the Customizer interface with your current theme.
After opening the theme customizer, you’ll see all customization settings on the left side of your screen, and the live preview of your website on the right side.
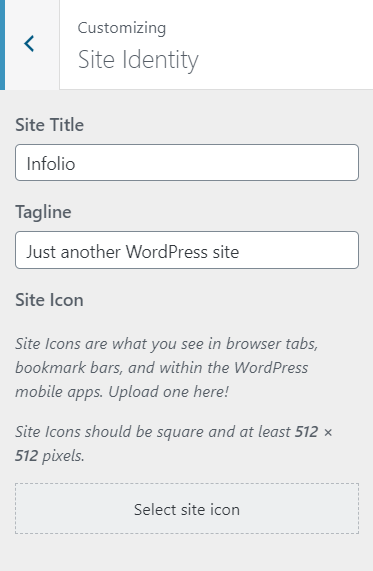
Site Identity #
The Site Identity panel in the WordPress theme customizer allows you to add or change the title and tagline of your website.
By default, WordPress adds “Just Another WordPress Site” as the site tagline. It’s recommended to change it after installing WordPress on your site. You can also keep it as blank if you want.
You can add a favicon to your site by clicking on the Select site icon option.
Logo
Uploaded logo will be visible on the site without cropping. So it’s important to upload the logo with the exact same size that you want to display it on the site header.
With all Retina Macbooks and high resolution displays around the world, nowadays it’s important to have retina logo too for your WordPress site header. How create retina logo ? If your logo size is for example 130x65px then create logo image with double size 260x130px for retina displays.
We don’t have strict restrictions for the logo size, but to keep nice view we recommend not using very large images.
It is desirable that the logo height does not exceed 80px .
Please note that for the mobile view logo will be hidden. Read more information about the Site Layout here .
Lets say you want to have 130x65px logo, then customizer fields should have the following values:
Standard Display Logo Image: Upload 130x65px logo image
Retina Display Logo Image: Upload 260x130px logo image
Logo Width: 130
Logo Height: 65
![]()
Colors #
The Colors panel in the WordPress theme customizer allows to set website color scheme and contain 5 sub panels.
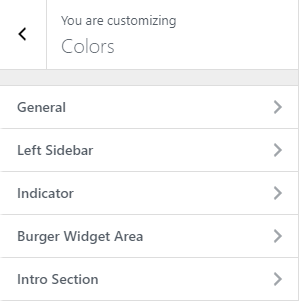
- Colors » General
- This panel provides color scheme for the entire site.
Site elements are grouped logically in such a way that with the help of several color values you can get completely different and nice looking views. - Colors » Left Sidebar
- This panel is responsible for the Left Sidebar elements color customization.
- Colors » Indicator
- This panel is responsible for the Header Indicator element color customization.
- Colors » Burger Widget Area
- This panel is responsible for the Burger Widget Area elements color customization.
- Colors » Intro Section
- This panel is responsible for the Intro Section elements color customization.
There are several elements that can be also colored from other places for example Paper Background , Intro Background and Indicator Bullet.
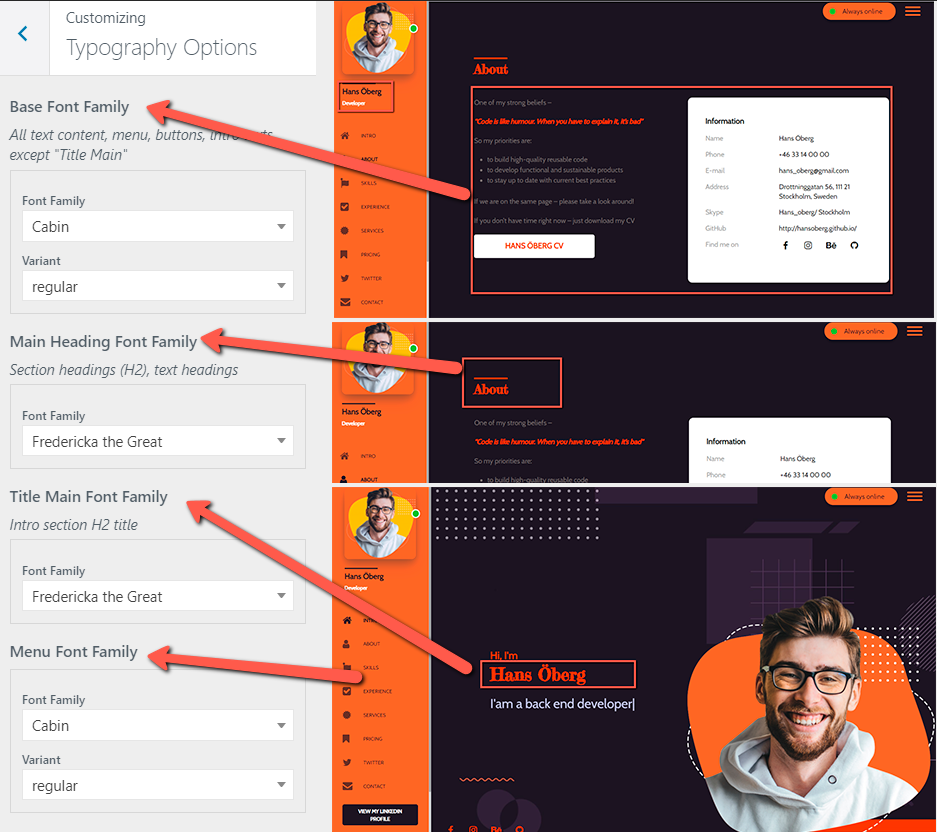
Typography Options #
The Typography Options panel in the WordPress theme customizer allows to customize website fonts. Infolio provides all the variety of Google Fonts
Left Sidebar #
The Left Sidebar panel in the WordPress theme customizer allows user to set different options to the so-called navigation sidebar
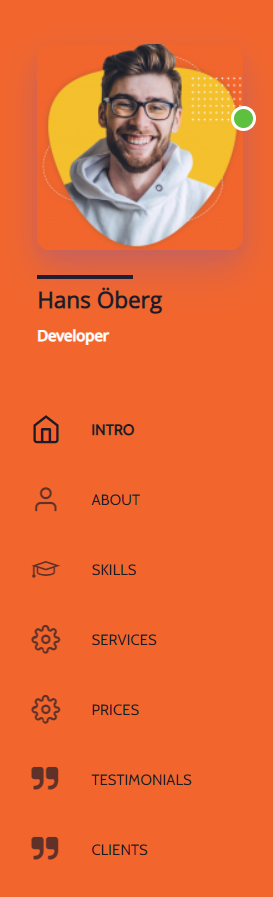
You can hide sidebar for Home page like here to provide full width eye-catching intro view. For the secondary pages you can hide sidebar as well. In both cases navigation could be moved to the Burger Widget Area.
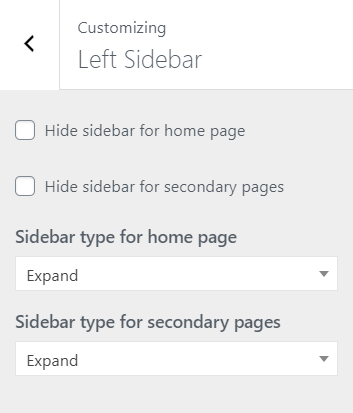
Sidebar type for home page and for secondary pages has the same options: expand (shows icons and menu items’ titles to the right of them), Expand (fixed in open position), collapse 1 (shows icons and menu items’ titles underneath), collapse 2 (shows only icons) and expand on hover (shows icons and when expands menu item’s titles appear to the right).
Personal Info
Personal image and Hover image
You can also set the Link for Personal image. If the External option is checked – the link opens in a new tab. You can set internal links also, but they should lead to the pages (i.e. blog, portfolio, etc.) – not sections (i.e. #about, #experience, etc.)
Title and Subtitle – you can just leave this field empty if you don’t need this information to be shown.
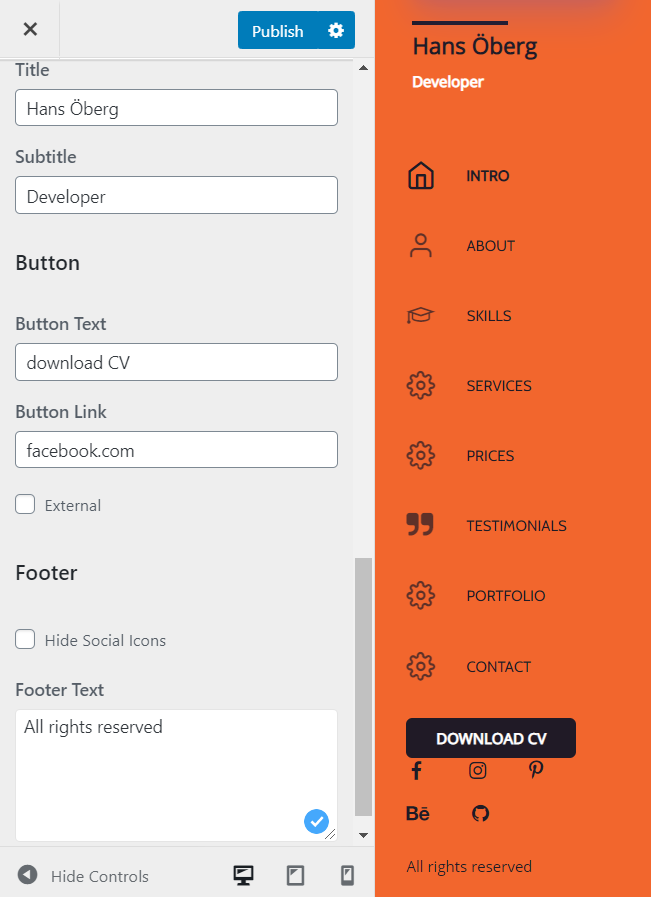
Button is shown only for the Expanded Sidebar Type. External checked – opens a link in a new tab.
Footer
Show/Hide Social Icons shows all icons you have set in Customizer » Social Settings » Add socials
Footer Text – could be any message you like (i.e. Copyright or Check my socials). Leave empty if you don’t need it.
Indicator #
The Indicator panel in the WordPress theme customizer allows to do some visual customization’s for the Indicator element.
Indicator element may appear in 4 places ( you can find information about the Site Layout here ):
- Left Sidebar
- Header
- Burger Widget Area
- Mobile Header

Indicator panel has following customization options:
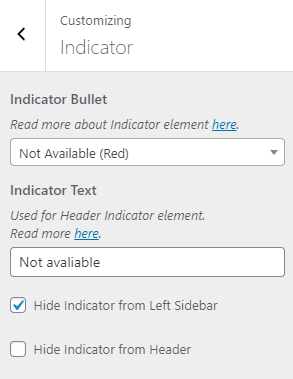
Indicator Bullet – Affect all areas where Indicator element may appear (Left Sidebar, Header, Burger Widget Area & Mobile Header).
There are two possible choices for indicator bullet color: green and red, without color customization ability.
Indicator Text – Affect only Header area (see screenshot above).
Hide Indicator from Left Sidebar – Affect Left Sidebar and Mobile Header areas (see screenshot above).
Hide Indicator from Header – Affect only Header area (see screenshot above).
Also it is possible to customize Header Indicator background color and text color from the Customizer » Colors » Indicator panel.

Burger Widget Area #
The Burger Widget Area panel in the WordPress theme customizer allows you to hide widget area.
Read more complete information about theme widget area, widget area customization and how to add widgets here.
Paper & Section Settings #
The Paper & Section Settings panel in the WordPress theme customizer allows to do some general customizations for the Papers and Sections for the pages which use Page Builder page template.
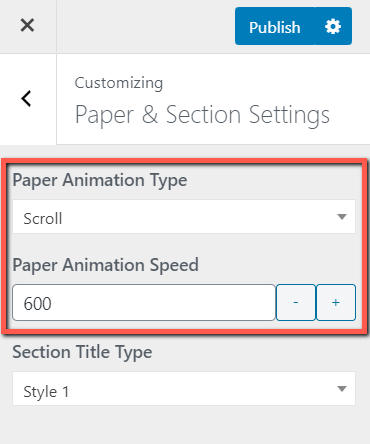
Papers
For the Page Builder – Papered View it’s possible to set Paper Animation Type and Paper Animation Speed globally for the all papers:
Sections
For the both Page Builder – Plain View and Papered View it’s possible to set Section Title Type for the all Sections .
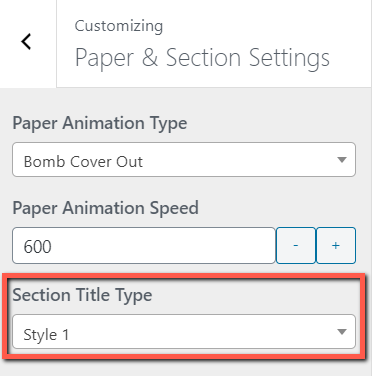
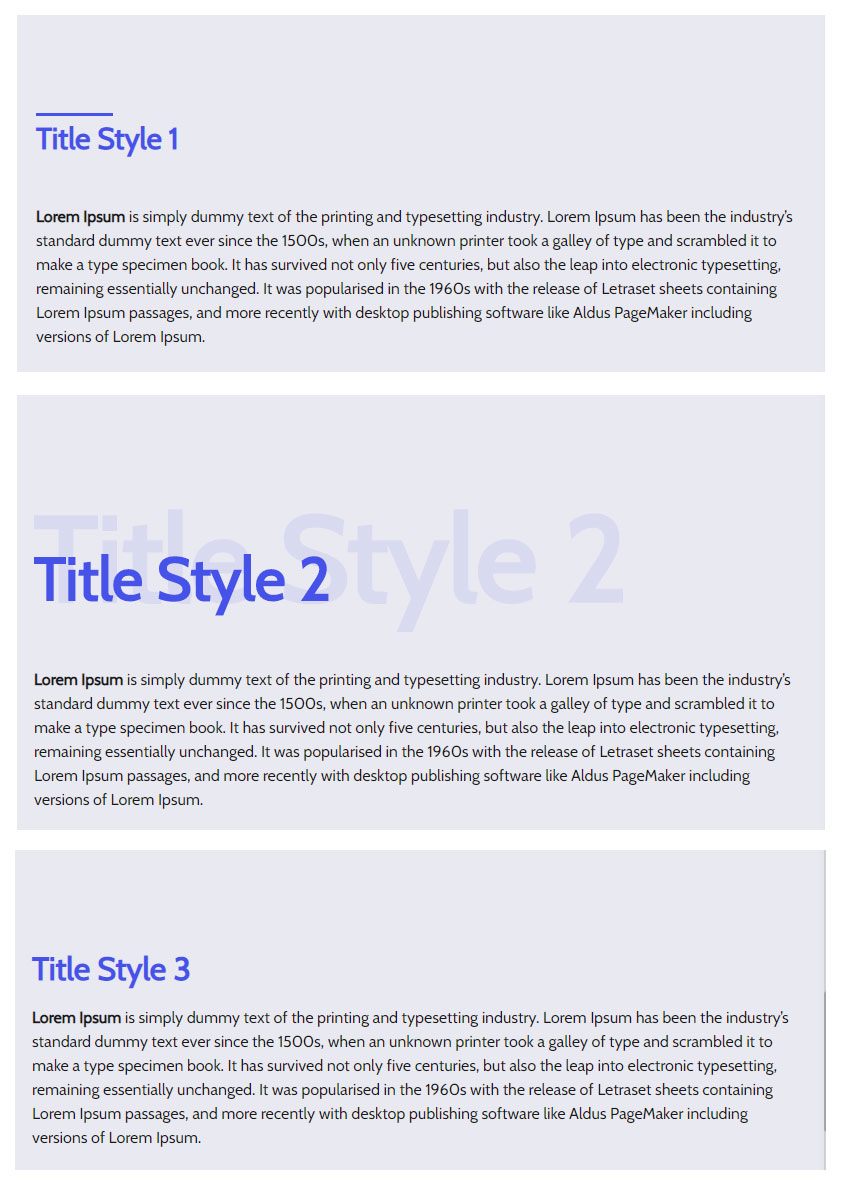
Please note, that selected title type will apply for all sections. There is no ability to choose title type for section individually.
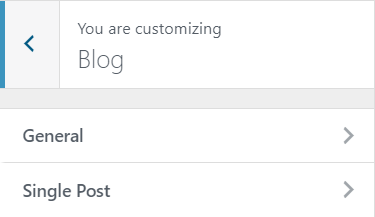
Blog #
The Blog panel in the theme customizer has two sub panels General and Single Post:
Blog » General Panel
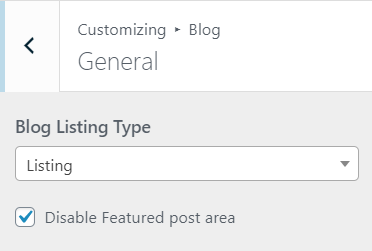
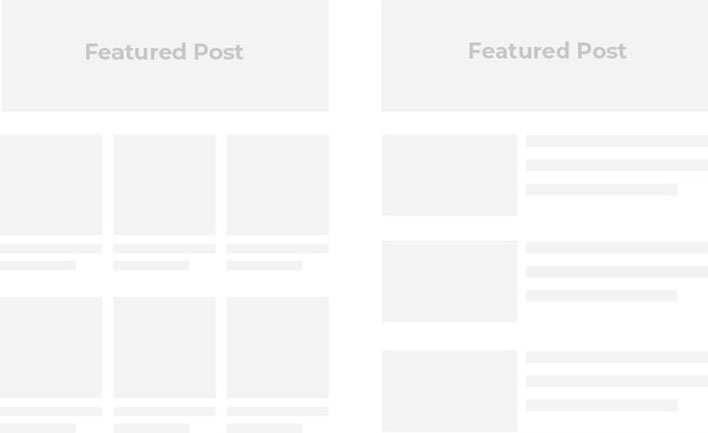
This panel allows to choose Posts Listing Type. There are two available listing types grid and listing. Listing type will affect all pages (home, category, archive, search) that may have post listings.
If Disable Featured Post Area checkbox is checked, it will totally hide featured post area, even if there are some posts marked as featured.
Blog » Single Post
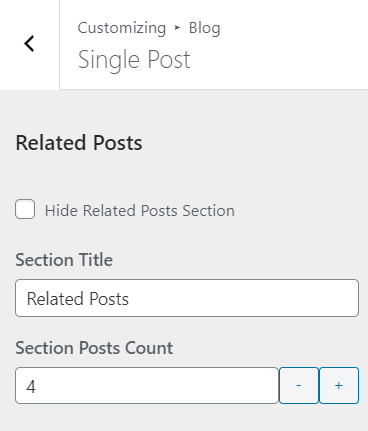
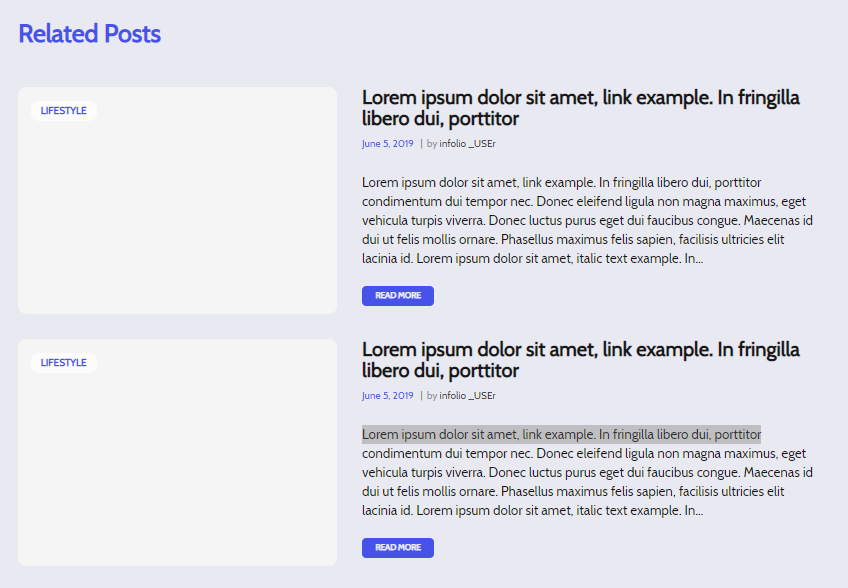
This panel allows to manage related posts section for the posts pages.
You can totally hide section, change section title or leave it empty and indicate the number of section posts.
Note: Blog » General Panel » Listing Type doesn’t affect Related Posts view.
Portfolio Single Post #
The Portfolio Single Post panel in the theme customizer allows to manage related posts section for the portfolio post.
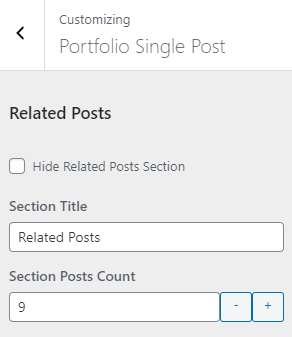
You can totally hide section, change section title or leave it empty and indicate the number of section posts.
404 Page #
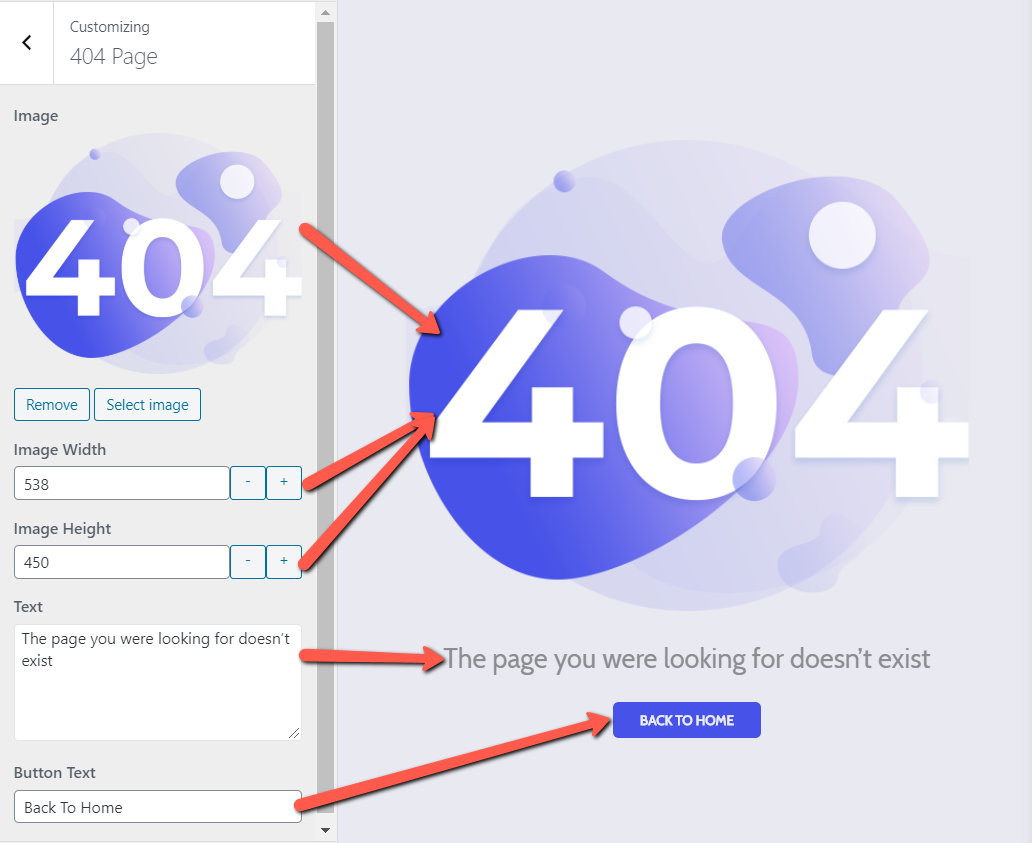
The 404 Page panel in the theme customize allows to do some visual customization’s for the 404 page.
- Leave Image, Image Width, Image Height fields empty if you want none image view
- Uploaded image should have the exact same size which will be displayed on the page (for large screens)
- It is important to insert uploaded Image Width & Image Height values for responsive view
- Leave Text field empty in case if you want to use only image
- Leave Button Text empty if for some reason you don’t want to navigate to the home page
If you don’t know how to reach the 404 page, just type 404 after your site url – https://siteurl.com/404
Widgets Panel #
The Widgets panel allows to add and manage widgets on the – Burger Widget Area.
Read more detailed info about:
Homepage Settings Panel #
By default, WordPress displays the latest blog posts on your homepage.
To have our homepage view, you will need to create a home page using Page Builder page template and select “A static page” radio button on the Homepage Settings panel.

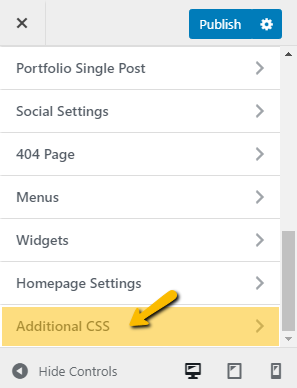
Additional CSS #
The Additional CSS panel allows to easily add custom CSS to WordPress site without editing any theme files and also don’t loose changes after theme updates.
First, you need to head over to the Dashboard » Appearance » Customize page
This will launch the WordPress theme customizer interface.
You will see your site’s live preview with a bunch of options on the left pane. Click on the Additional CSS tab from the left pane.
The tab will slide to show you a simple box where you can add your custom CSS. As soon as you add a valid CSS rule, you will be able to see it applied on your website’s live preview pane.
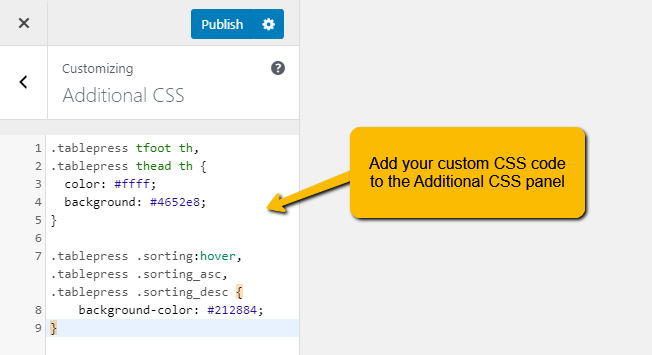
Don’t forget to click on the Publish button on the top when you are finished.
Any custom CSS that you add using theme customizer is only available with that particular theme. If you would like to use it with other themes, then you will need to copy and paste it to your new theme using the same method.
Social Settings #
The Social Settings panel in the theme customize allows to add Social Icons .
Social Icons
Social Icons may appear in different places: Left Sidebar, Section Intro & Section About.
For example if you want to add facebook social icon click on the Add new Social Item button.
Social Icon Name: Here you should place social Icon Name. Read how to get Icon Name here.
Social Link: In this field please social page URL, for example https://www.facebook.com/infolio.